Ingredients
Method
Step 1: Get the Batter Ready
Start by heating your oven to 175°C (350°F). Prep two 9-inch cake tins—grease them well and line the bases so nothing sticks later (trust me, this saves drama). In one bowl, combine flour, baking powder, and salt. Give it a quick whisk to evenly distribute everything. In another bowl, beat butter and sugar until pale and fluffy. This step builds that soft texture, so don’t rush it. Add eggs one at a time, mixing after each. Stir in vanilla and coconut flavors. Now alternate adding the dry mix and coconut milk into the batter. Do this gradually and mix just until combined. Don’t overdo it—overmixing = dense cake.
Step 2: Bake to Perfection
Pour the batter evenly into your pans and smooth the tops. Bake for about 25–30 minutes. Check with a toothpick—if it comes out clean, you’re good to go. Let cakes rest in the pans briefly, then transfer to a rack to cool completely. Never frost a warm cake unless you enjoy chaos.
Step 3: Whip Up the Frosting
Beat the cream cheese until smooth. Add powdered sugar gradually and mix until creamy. In a separate bowl, whip the cream until stiff peaks form (chilled tools help—FYI). Fold the whipped cream gently into the cream cheese mixture. Add vanilla and coconut flavor. You’re aiming for a light, airy frosting—not heavy or overly thick.
Step 4: Assemble Like a Pro
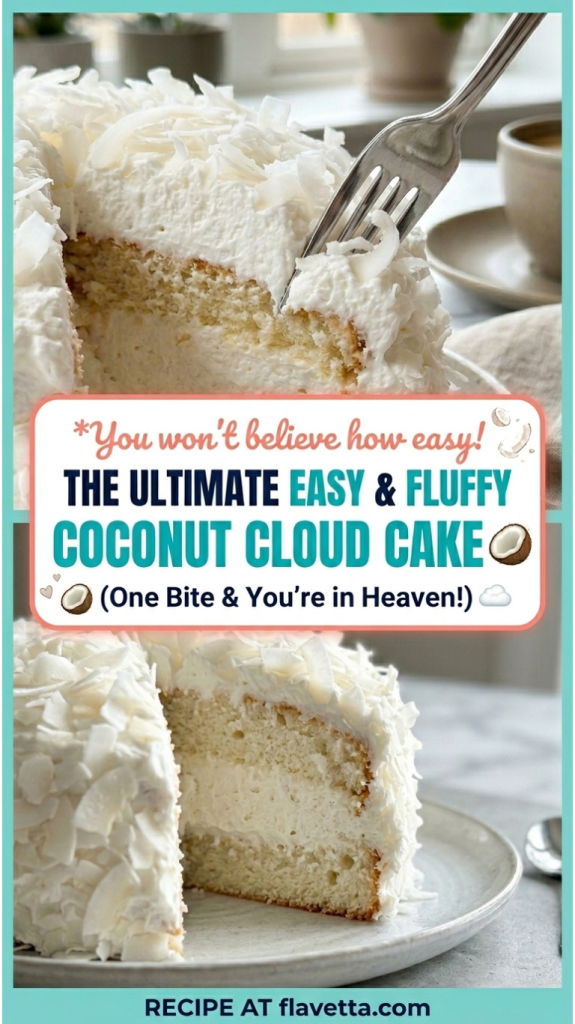
Place one cake layer down and spread a thick layer of frosting on top. Add the second layer, then coat the entire cake. Start with a thin crumb layer, then go in with a thicker, smooth finish. Feeling fancy? Pipe some swirls or borders.
Step 5: Coconut Finish
Sprinkle and press shredded coconut all over the cake. Toasting it first adds extra flavor and crunch. Chill the cake for at least 1 hour before slicing. This helps everything set nicely.
Notes
🍽️ Serving Ideas
- Serve chilled for the best texture
- Pair with iced coffee or tea
- Add fresh berries for a pop of color and flavor
💡 Expert Tips
- Room temp ingredients = smoother batter
- Chill your cream before whipping for better volume
- Toast coconut lightly for deeper flavor
- Use a serrated knife for clean slices
❓ FAQs
Can I make this ahead of time?Absolutely. Bake layers a day earlier and frost before serving. Can I use boxed cake mix?
You can, but the homemade version tastes way better (no contest). Is it freezer-friendly?
Yes! Freeze unfrosted layers up to 2 months.
🧊 Storage Guide
Room Temp:Best enjoyed the same day. Keep covered. Fridge:
Store in an airtight container for 3–4 days. Freezer:
Wrap layers tightly and freeze. Thaw before decorating.
💭 Final Thoughts
This Coconut Cloud Cake delivers everything you want in a dessert—light texture, rich flavor, and that irresistible coconut finish. It looks impressive but stays surprisingly simple to make. Whether it’s for a celebration or just because you deserve cake (valid reason, btw), this one never disappoints.